A professional install is a system, not a paint job
When most people picture an epoxy floor installation, they imagine rolling a glossy coating onto concrete. In reality, a professional installation is a multi-stage system where the coating is only the final layer. Every step before it — inspection, repair, and mechanical preparation — is what determines whether the floor lasts for years or peels next season.
Here is how a professional epoxy or polyaspartic floor is actually installed, in the order it happens on a real job.
Step 1: Concrete inspection
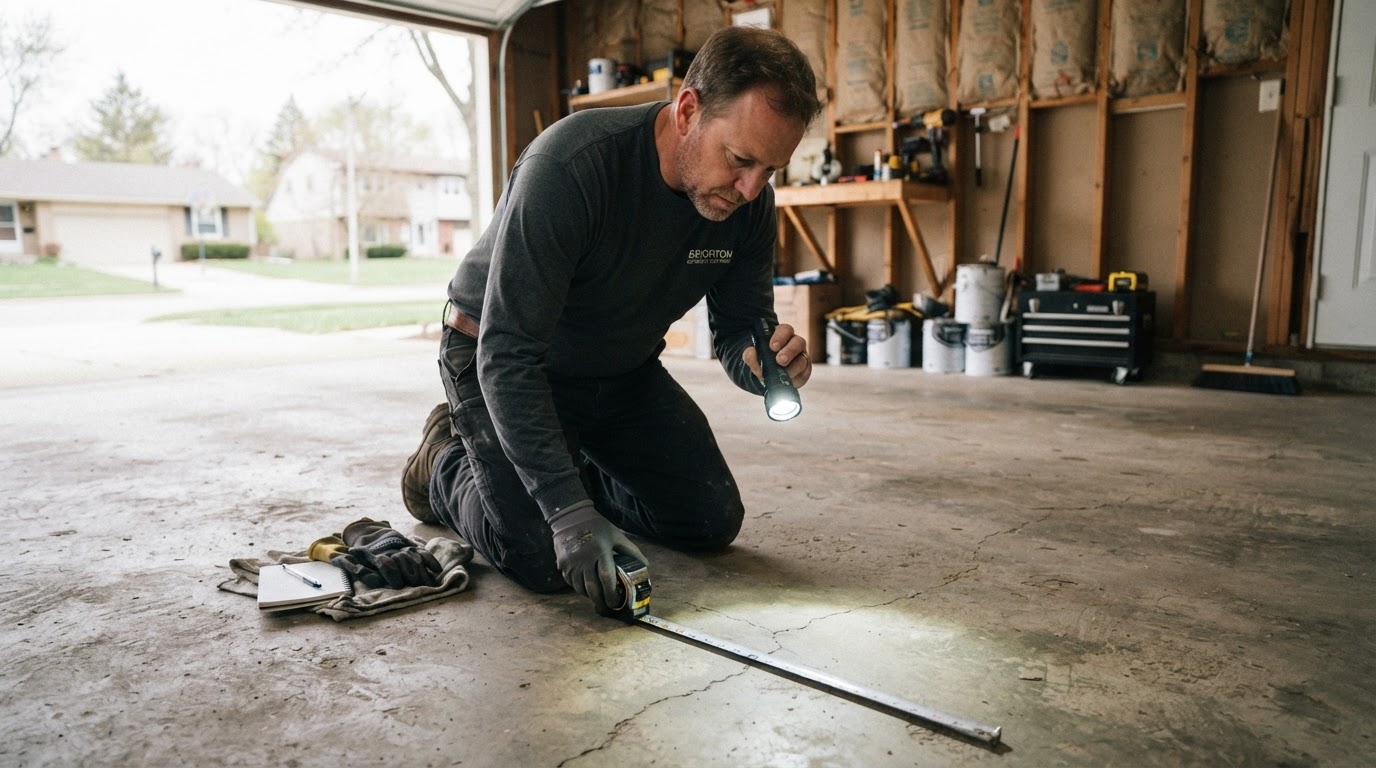
Before any equipment comes off the truck, the slab gets inspected. We look for existing coatings, oil and chemical contamination, cracks, spalling, control joints, moisture issues, and the overall soundness of the concrete. A floor covered in old sealer or soaked with oil needs a very different approach than a clean, newly poured slab.
This inspection also confirms whether the concrete is even a good candidate for coating. A slab with serious structural movement or active water problems has to be addressed at the source before a coating will perform.
Step 2: Repairs
Cracks, pits, spalls, and worn control joints are chased open, cleaned out, and filled with a fast-curing polymer mender that bonds to the concrete and cures harder than the slab around it. Once cured, the repair is ground flush so it disappears beneath the coating.
Repair matters for two reasons: it stops cracks from telegraphing through the finished floor, and it removes the weak spots where moisture and stress would otherwise concentrate. A coating bridging an unfilled crack will eventually split along that line.
Step 3: Surface preparation
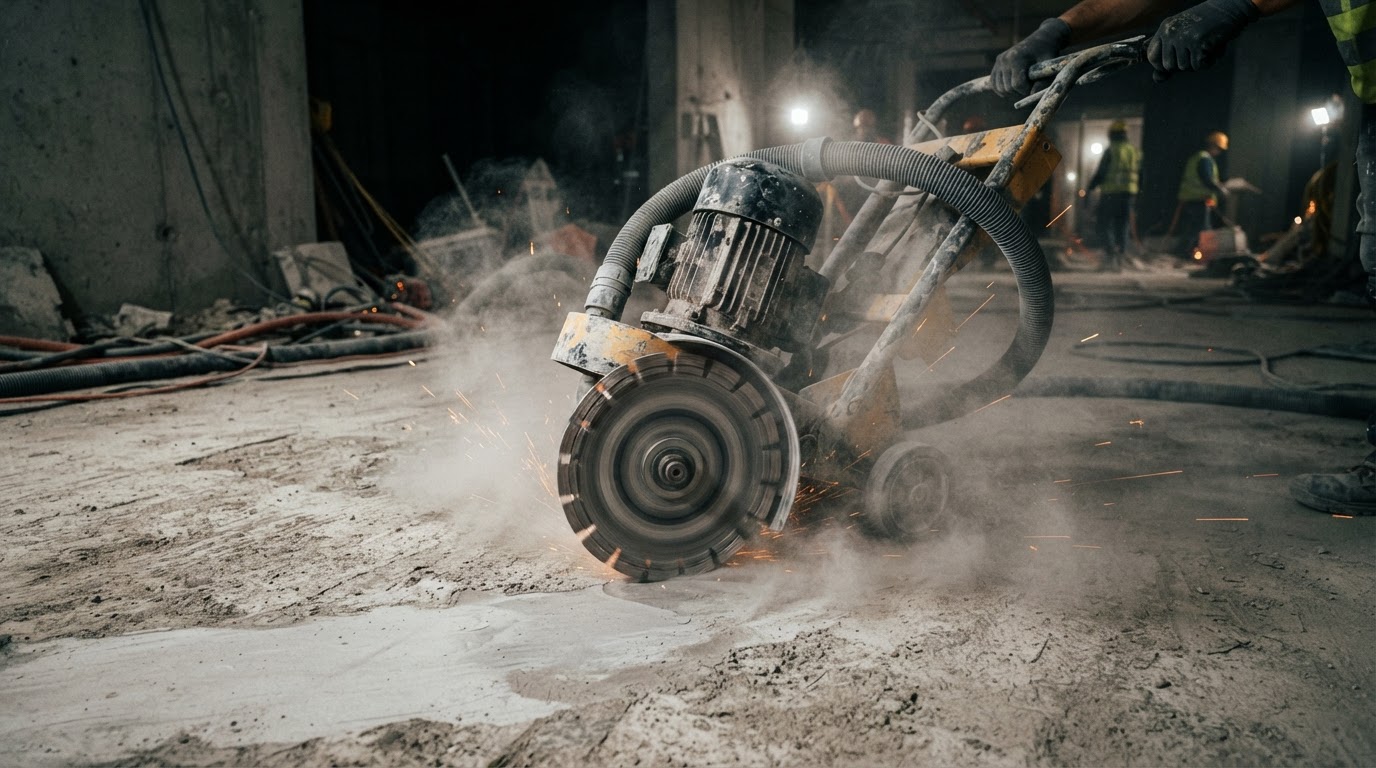
This is the step that separates a professional floor from a DIY kit. We use heavy planetary diamond grinders with dust-containment vacuums to remove the weak surface layer of the concrete — the laitance — and mechanically profile the slab to a CSP-2 texture. That open-pore profile is what the coating physically locks into.
Acid-etching, the method used by most box-store kits, only cleans the surface. It does not create the same mechanical bond, which is exactly why etched-and-rolled floors peel at the tire tracks. Mechanical grinding is non-negotiable for a floor that stays down.
Step 4: Cleaning
After grinding, the slab is vacuumed and cleaned to remove every trace of dust and debris. Even a fine layer of concrete dust between the coating and the slab acts as a bond breaker. The floor has to be clean enough that the base coat touches bare, open concrete.
Step 5: Base coating
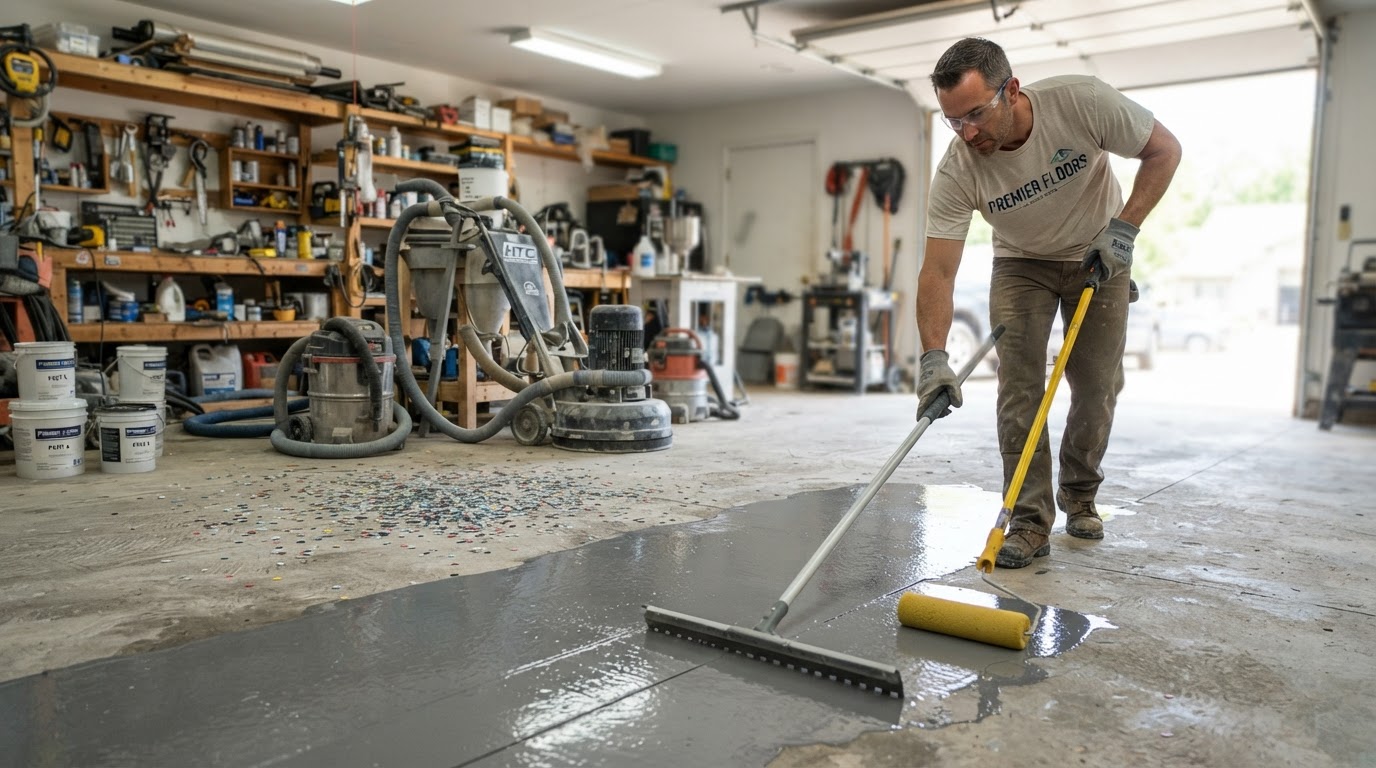
A pigmented, high-solids base coat is applied over the prepared slab. This is the structural layer that bonds to the concrete and carries the color of the floor. It has to be applied evenly and at the correct thickness — too thin and it wears through; too thick and it can trap solvents and cure improperly.
Step 6: Decorative system
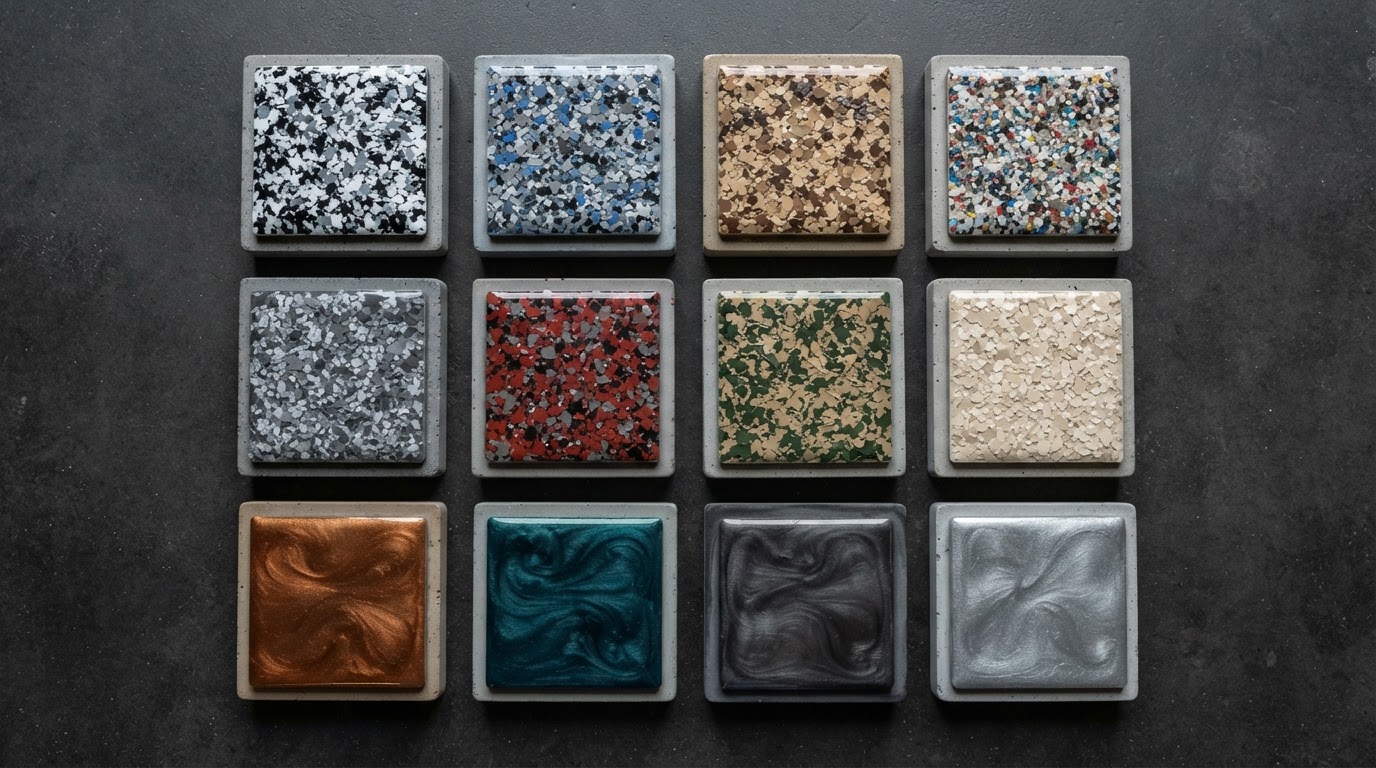
Where applicable, the decorative system goes down while the base coat is still wet. For a flake floor, that means broadcasting a full layer of decorative vinyl flakes across the entire surface so they overlap and create a seamless, textured finish. For a metallic epoxy floor, metallic pigments are manipulated while wet to create 3D depth and movement.
The decorative layer is what gives the floor its finished look, and it has to be applied within the coating's working time — which is short for fast-curing systems like polyaspartic.
Step 7: Topcoat
Once the base and decorative layers are cured, the surface is scraped flat and sealed under a clear topcoat. This is the wear layer — the part that takes the daily abuse of tires, foot traffic, spills, and cleaning. A polyaspartic topcoat adds UV stability, chemical resistance, and a slip-resistant micro-texture.
Step 8: Curing
The final stage is curing, and it happens in stages. The floor may be walkable within hours, but full cure — when it can take vehicle traffic, heavy items, and aggressive cleaning — takes longer and depends on the coating system, temperature, and humidity. We give you specific guidance for foot traffic, moving items back, and parking vehicles based on your actual floor.
If you want to see this process on your own slab, request a free estimate and we will walk you through exactly what your floor needs.
Get a Free Estimate for Your Floor
Reading is a start — let us come measure your actual slab and give you an honest quote. Free, no-pressure, on-site.